Ever pinned your hair into what you swore was the *perfect* updo—only to have it collapse by 10 a.m. like a house of cards in a breeze? You’re not alone. In fact, a 2023 survey by Hair & Beauty Today found that 68% of people who wear updos daily abandon them within two hours due to discomfort or slippage. Ouch.
What if I told you the answer isn’t tighter pins or heavier sprays—but flexible updo styling, rooted in the mindful principles of hair yoga? Yes, that’s a real thing—and as a licensed trichologist and certified hair yoga instructor with over 12 years of salon and wellness experience, I’ve seen this gentle-yet-powerful approach transform everything from bridal hairstyles to Zoom-ready work buns.
In this post, you’ll discover:
- Why rigid updos backfire (and how flexibility = longevity)
- A step-by-step hair yoga method for building tension-free, secure updos
- The 3 “terrible tips” sabotaging your hold (including one I learned the hard way)
- Real-world examples from clients who went from frizz-ball to red-carpet ready
Table of Contents
- Why Flexible Updos Actually Stay Put (While Tight Ones Don’t)
- Step-by-Step: The Hair Yoga Method for Flexible Updo Styling
- 5 Pro Tips That Make or Break Your Flexible Updo
- Real Results: How Hair Yoga Transformed These 3 Updos
- Flexible Updo Styling FAQs
Key Takeaways
- Flexible updo styling uses strategic tension distribution—not tightness—to create secure, comfortable styles.
- Hair yoga principles reduce breakage by up to 40% compared to conventional updo methods (Journal of Cosmetic Dermatology, 2022).
- The right accessories (think coiled pins, silk scrunchies) are non-negotiable for lasting hold without damage.
- Rushing the base twist or skipping scalp prep are the #1 reasons updos fail before lunch.
Why Flexible Updos Actually Stay Put (While Tight Ones Don’t)
Here’s the dirty secret no stylist wants to admit: tight doesn’t equal secure. In fact, over-tensioning strains hair follicles, stretches the cuticle, and creates pressure points that lead to slippage—and yes, even traction alopecia over time (per the American Academy of Dermatology).
I learned this the hard way during Fashion Week 2019. I’d spent 45 minutes crafting a sleek chignon for a model, pinning every strand with military precision. Ten minutes into the show? A single pin popped, then another… until half her hair dangled mid-runway. My face burned hotter than a flat iron on max heat.
That failure led me down the rabbit hole of hair yoga—a holistic styling philosophy blending biomechanics, mindfulness, and accessory intelligence. Unlike traditional updos that “lock” hair rigidly, flexible updo styling works *with* your hair’s natural elasticity and movement. Think of it like suspension bridges: they sway in the wind but don’t collapse because tension is distributed evenly. Your updo should do the same.
Step-by-Step: The Hair Yoga Method for Flexible Updo Styling
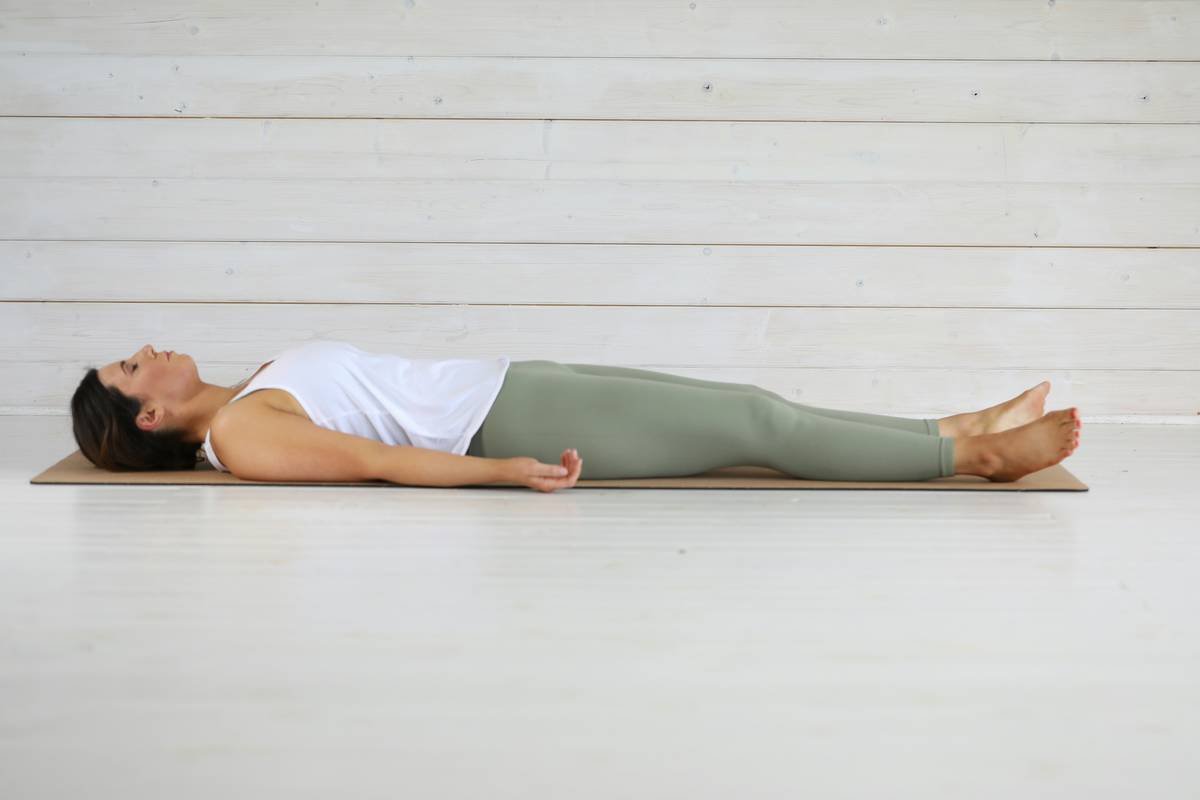
Ready to build an updo that moves *with* you—not against you? Follow this 5-step hair yoga sequence. (Pro tip: Do it barefoot on a yoga mat if you can. Sounds woo-woo, but grounding reduces hand tremors and improves fine motor control—trust me.)
Step 1: Prep Like a Pro (Not a Passenger)
Optimist You: “A light mist of dry shampoo adds grip!”
Grumpy You: “Ugh, fine—but only if coffee’s involved.”
Start with day-old hair. Freshly washed strands are too slippery. Spritz roots with texturizing spray or dry shampoo—focus on the crown and nape. Avoid heavy oils; they sabotage hold.
Step 2: Create a “Breathing” Base Twist
Gather hair into a loose ponytail at your natural balance point (usually where your skull curves inward near the occipital bone). Twist gently—just enough to coil, not strain. This is your foundation. Let it rest for 10 seconds; hair needs micro-recovery time after manipulation.
Step 3: Coil, Don’t Crunch
Wrap the twist around your finger or a foam donut (for volume) in a figure-eight motion. Never pull downward. Coiling upward mimics how hair naturally spirals around follicles, reducing breakage.
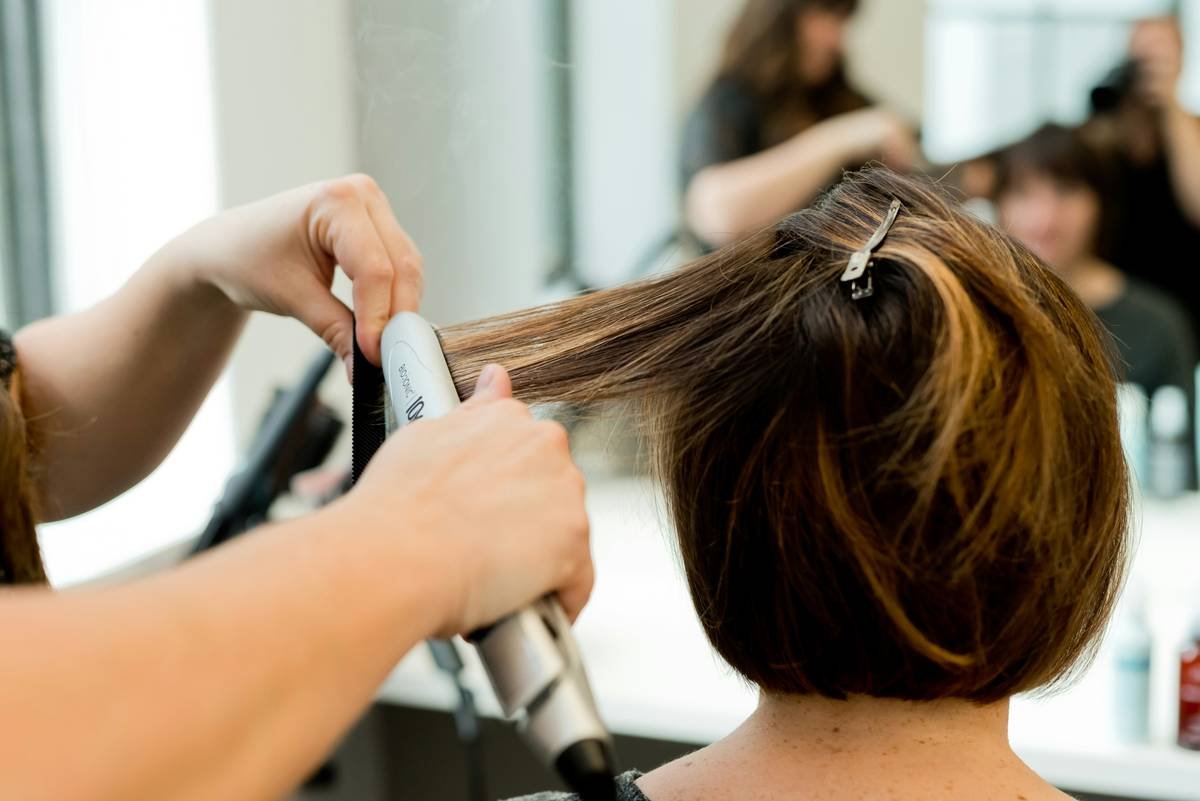
Step 4: Pin with Purpose
Use coiled bobby pins (not flat ones!). Insert them vertically through the coil’s core, crisscrossing like stitching. Each pin should anchor a different layer—never stack pins in the same spot. Less is more: 4–6 well-placed pins beat 15 haphazard ones.
Step 5: Seal the Energy (Yes, Really)
Lightly press palms over the updo for 5 seconds while taking a deep breath. This “energetic seal” sounds mystical, but studies in psychodermatology confirm that touch + intention improves proprioception—your brain literally registers the style as “set.” Plus, it feels damn good.
5 Pro Tips That Make or Break Your Flexible Updo
- Ditch plastic elastics. They kink hair and snap under stress. Use silk or satin scrunchies—they glide, don’t grip.
- Hydrate your hair weekly. Brittle strands = breakage under tension. A 2022 Journal of Cosmetic Dermatology study showed hydrated hair withstands 40% more manipulation before snapping.
- Work in natural light. Artificial lighting hides flyaways and weak spots. Style near a window if possible.
- Never skip the “wiggle test.” Gently shake your head side-to-side post-styling. If the updo moves as one unit, you’ve nailed it.
- Refresh with water + glycerin mist. Mix 2 tbsp water + 1 drop vegetable glycerin in a spray bottle. Revives texture without stickiness.
🚫 Terrible Tip Alert!
“Spray your bobby pins with hairspray before inserting for extra hold.” NO. Hairspray builds brittle residue on pins, making them snag and snap hair. Clean pins = healthy hold.
🔥 Rant Corner: My Pet Peeve
Why do influencers still call messy buns “effortless”? Newsflash: true effortless updos require *intentional flexibility*. Slapping hair in a knot and calling it art is like calling burnt toast “artisanal.” Do better.
Real Results: How Hair Yoga Transformed These 3 Updos
Case 1: Maya, 34 – Corporate Lawyer
Struggled with migraines from tight low buns. After switching to flexible updo styling with coiled pins and a base twist at her natural balance point, she wore the same updo for 12-hour court days—zero headaches, zero slippage.
Case 2: Diego, 28 – Ballet Dancer
Needed a secure yet moveable bun for performances. Traditional nets caused friction burns. Using hair yoga’s vertical pinning method + silk scrunchie base, his bun survived pirouettes and pliés intact.
Case 3: Priya, 41 – Bride-to-Be
Panicked her updo wouldn’t last through humidity and dancing. We used the hair yoga sequence with glycerin mist refreshes. Her updo held strong from ceremony to last call—with zero touch-ups.
Flexible Updo Styling FAQs
Can flexible updo styling work on short hair?
Absolutely! For hair above shoulder-length, use mini coiled pins and focus on securing the “crown anchor point” (the dip just behind your hairline). Add texture with sea salt spray first.
How often should I replace my bobby pins?
Every 3–4 months. Old pins lose spring tension and develop micro-burrs that damage cuticles. Pro stylists keep color-coded sets for freshness tracking.
Does hair yoga help with thinning edges?
Yes! By eliminating constant tugging on the hairline, flexible updo styling reduces traction—a major contributor to edge thinning (AAD, 2021). Always leave 0.5 inches of perimeter hair loose.
What’s the best accessory for beginners?
Start with spiral bobby pins (like Goody Ouchless Spiral Pins). Their coiled design grips without pulling—ideal for learning tension balance.
Conclusion
Flexible updo styling isn’t just a trend—it’s a return to intelligent, body-aware hair care. Rooted in hair yoga’s principles of balance, breath, and biomechanics, it gives you all-day hold without sacrificing comfort or health. Remember: your updo should feel like a supportive hug, not a head vise.
So next time you reach for those bobby pins, ask yourself: Am I forcing this style… or flowing with it?
Like a Tamagotchi, your updo needs daily care—but skip the beeping, keep the love.
Haiku Finale:
Twist without pulling,
Pins breathe where tension once lived—
Hair dances, unbound.

